Peranakan Tiles Inspired Quilt No. 4
- Sew, Jahit

- Aug 24, 2023
- 3 min read
Updated: Apr 22, 2024
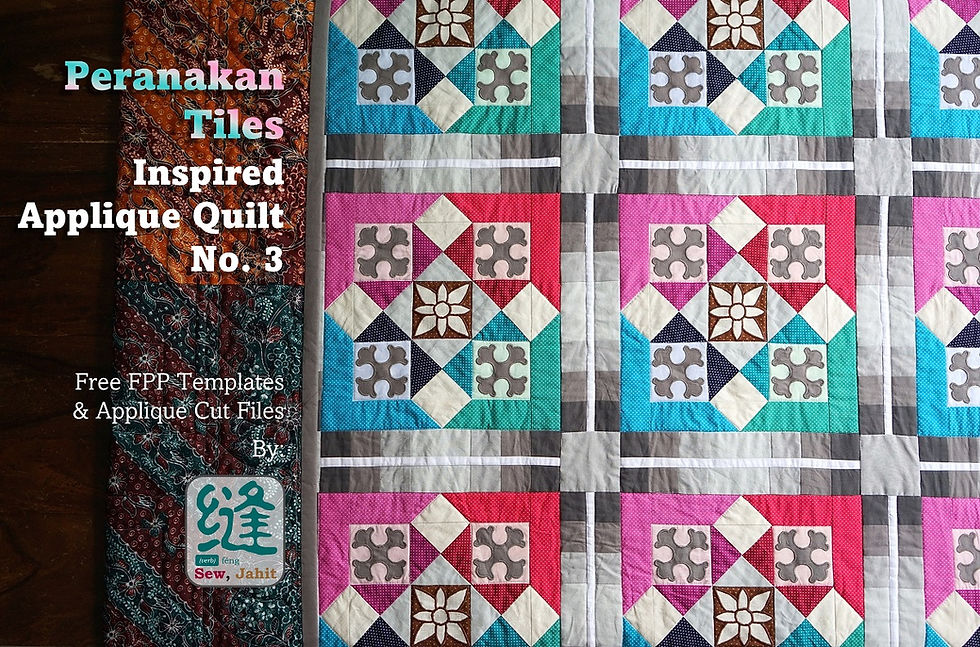
Another Peranakan tiles inspired quilt? YES please! Includes free FPP templates and cut files.

This time, the inspiration comes from these floor tiles found in a local restaurant near where I live. These floor tiles can also be found on the sidewalks in Georgetown, Penang.

As with my last three Peranakan tiles inspired quilts (click here, here, and here), I started by tracing a flat image of the Peranakan tiles, converting them into cut files (I used Brother's Canvas Workspace for the ScanNCut), and use the Brother ScanNCut to cut out the applique shapes.


MATERIALS
The applique pieces are made with the fabric line Pura Vida by Shayla Wolf for Anthology Fabrics. As usual, I lined my applique pieces with fusible web before ironing them onto the background fabrics.

The light green, light blue, and light pink batik backgrounds are fabrics from my local Spotlight, while the light purple batik background is from Fat Quarter Shop. The light grey background is also from Spotlight.


The batting is a cotton polyblend.
DESIGN & DIMENSIONS
All seam allowance is quarter inch.
The finished quilt measures about 75" x 75".

CONSTRUCTION OF CENTER PANEL
The center panel of the quilt is made up of 64 of the following 7.5" x 7.5" (finished) unit:

I made the units using raw edge applique technique. Click the link below to download the SVG cut files of the elements in this unit. The SVG cut files already includes a quarter inch seam allowance (the inner and outer squares in the SVG file indicates this seam allowance).
Four of this unit make the following 15"x15" (finished) block:

Sixteen of this block makes the center panel of the quilt.

Some cut outs of the applique pieces. These are already lined with fusible web prior to cutting.

Applique pieces fused to the background fabric, ready for applique stitching.

Ready for blanket applique stitching.

A closer look at the blanket applique stitches.
CONSTRUCTION OF BORDERS
The borders are made of the following units and strips:

Click below to download the FPP and strips templates.
Note: the FPP templates are to size, but the strips templates are only templates to cut the correct width. Cut each strip to at least 92 inches long and you will have enough to make the mitered corner using Y-seams.
Units A, B and C: Print 4 sheets to get 4 sets of Units A, B and C templates.
Unit D: Print 8 sheets to get 8 Unit D templates.
Unit E: Print 88 sheets to get 88 Unit E templates.
Strips F1 and F2: Print 1 sheet (because you only use these as cutting templates).
As shown in the illustration below, the border is made up of:
4 x Unit A
4x Unit B
4 x Unit C
8 x Unit D
88 x Unit E
8 x Strip F1 in light colour (Template Width x to 92")
8 x Strip F2 in dark colour (Template Width x to 92")

QUILTING
This quilt can be made using the conventional piecing-the-quilt-top-then-quilt method. However, I actually used the quilt-as-you-go method, where I pieced all the units to make the sixteen blocks, then I quilted each of the sixteen blocks with my applique (blanket) stitches onto battings. Then I pieced the pre-quilted sixteen blocks (with battings) together to form the center panel. Because of this method, my construction of the borders is much more complicated than as you can imagine from the above diagram, so I don't actually recommend it. So, stick with the conventional piecing and quilting method unless you really know what you're doing.
Regardless of the method of piecing, the quilting should not distract from the patchwork and applique. I used stitch-in-the-ditch and stitch around motifs in blending threads.


Your quilts are very beautiful and your stitching is so neat. This pattern is exquisite but I don't think that I would have your patience to finish it. Thank you for sharing the pattern and your method of quilting it.