Easy-Peasy Double-Sided Table Runner
- Sew, Jahit

- Jan 31, 2021
- 2 min read
Updated: Jan 16, 2024
Here's how you can sew your own table runner that is quick, simple and sophisticated. Totally beginner friendly!


To check out what else you can sew for the Chinese New Year, see this post.
STEP 1:
Choose Fabrics & Determine Dimensions
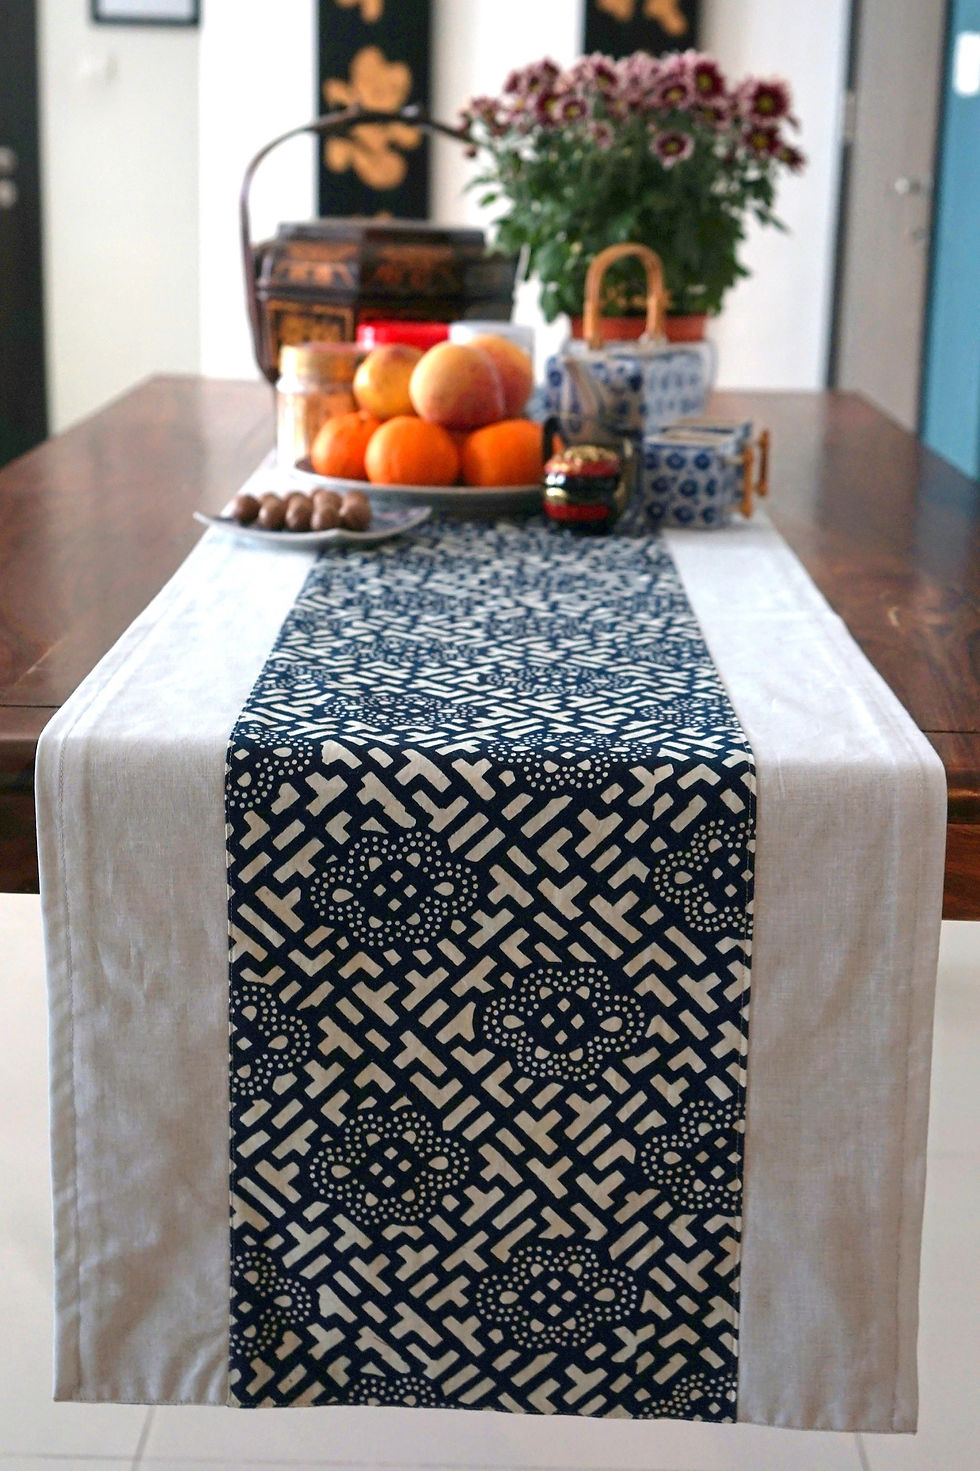
I wanted this table runner to be part of my home's Chinese New Year decor, so I have chosen this traditional Chinese indigo-dyed fabric as my feature fabric and a coordinating light grey. You can of course choose any other pair of coordinating fabrics, although I strongly recommend a bold print paired with a plain or monochrome fabric. The design of this table runner is so simple that it will really showcase whatever fabric you want to feature.

Fabrics Selected for My Table Runner
There really isn't a standard length system for table runners. Some like them overhanging at the ends, some like it flat on the table. In this tutorial, I am making it overhang by about 1 feet. My table is 6 feet long, so my table runner will be about 8 feet (240 cm) long and 44 cm wide.

Dimensions of My Table Runner (Front)

Dimensions of My Table Runner (Back)
STEP 2:
Cut Fabrics
Cut your feature fabric to two strips with the following dimensions:
Strip 1: 28 cm x 242 cm
Strip 2: 44 cm x 242 cm
And cut your coordinating fabric to two equal strips, each with the dimensions 12 cm x 242 cm. We'll call these Strip A and Strip B.
STEP 3:
Sew Strips Together
STEP 3.1: Take Strip 1 and Strip A. Sew together along the long edge, right sides together, with a 1 cm seam allowance. Press seam allowance to the darker side. Repeat on the other long edge of Strip 1, with Strip B:

You will now have the following ensemble:

STEP 3.2: With matching thread, top stitch near the seams, on the side to which the seam allowance was pressed (i.e. on the darker fabric):

STEP 3.3: Take Strip 2 and sew it to the ensemble, along one long edge, right sides together, with 1 cm seam allowance:

Your ensemble now should look like this:

STEP 3.4: Fold the ensemble right sides together, such that Edge A meets Edge B (see illustration below):

Sew along these edges with 1 cm seam allowance to form a tube:

STEP 3.5: Turn the tube inside out to reveal the pretty sides of the fabrics, and press such that Strip 2 is centered along the runner (which means Strip 1 will also be centered).

Strip 2 Centered on the Back of Runner

Strip 1 Centered on the Front of Runner
STEP 4:
Close Tube's Opening on Both Ends
Fold the raw edges on one end of the tube into the opening by about 1cm, and top stitch it close. Repeat for the other opening.

STEP 5:
Top Stitch on Strip 2
This step serves 2 purposes. First, it strengthens the seams sewn in STEPS 3.3 and 3.4 Second, it helps to retain the shape of the table runner.

DONE!


Lovely blog thanks for sharing